Sunday, November 25, 2012

Marbled Chocolate Banana Bread

I don't know why I buy bananas. They never get eaten. I like my bananas still a little green; once they turn yellow I've lost interest. My interest comes back when they start to brown because I can make bread and muffins. I wanted to make this bread before Thanksgiving, but time was not on my side. Today was a lazy day, so to feel a little productive, I figured I would use up some (I still have 4 left!) of those bananas.

Don't get me wrong, plain old banana bread is delicious, but I always like to add some chocolate to it. When I saw the recipe for this bread I couldn't wait to make it. At first, I was apprehensive because it was a marbled bread and looked fancy so I figured there would be more work involved. I tend to do that, to overestimate the work that goes into some great recipes, but this one was very simple. To get that marbled effect you just swirl two batters together with a knife. No fancy steps to it.

The original recipe also gave the option to sprinkle more chocolate chips on top before baking, which I decided not to do. I kind of wish I had though.


Marbled Chocolate Banana Bread
from Alida's Kitchen

2 cups all-purpose flour
3/4 teaspoon baking soda
1/2 teaspoon salt
1 cup granulated sugar
1/4 cup vegetable oil
1 1/2 cups mashed ripe banana (about 3 bananas)
2 eggs
1/3 cup low fat buttermilk
1 teaspoon vanilla extract
1/2 cup semisweet chocolate chips
Cooking spray


  1. Preheat oven to 350 degrees.  Spray 8 1/2 x 4 1/4 inch loaf pan with cooking spray and set aside.
  2. In a medium bowl, whisk flour, baking soda and salt.
  3. In a large bowl, beat sugar and oil on medium until blended (about 1 minute).  Add banana, egg, buttermilk and vanilla, and beat until blended.
  4. Fold the flour mixture into the banana mixture, gently stirring batter until just moist.  
  5. Place chocolate chips in a medium microwave-safe bowl and microwave for 1 minute (on high) or until almost melted.  Microwave for an additional 30 seconds, if needed.  Stir until smooth and let cool slightly.
  6. Add 1 cup batter to the chocolate, stirring until well combined. 
  7. Spoon batter into prepared loaf pan, alternating between plain batter and chocolate batter.  Swirl batters together using a knife. 
  8. Bake for 1 hour and 10 to 15 minutes, or until a toothpick inserted in the center comes out clean.  Cool 10 minutes in pan on a wire rack and the remove from pan to wire rack to cool completely.

Friday, November 23, 2012

Pumpkin Maple Whoopie Pies

The last recipe of Thanksgiving is the whoopie pies. I keep saying I need to expand my baking repertoire. Cupcakes are pretty much down pat and cheesecakes I can do. I need to work on cookies, pies and pastries. This is all in preparation for when I open my bakery, of course......

As I was making these, I discovered that my brown sugar was hard as a rock. I threw some in the microwave to soften it up a bit. It did soften up, but when I threw it in the mixer, little rock-hard pellets began to form. I then had to scrub my hands and break up those pellets by hand. This was after I attempted to crush them with a potato masher. I learned yesterday afternoon that apparently, you can throw a slice of bread into a container with brown sugar and let it sit overnight and it's like the sugar is brand new.

Pumpkin Whoopie Pies
from The Brown Eyed Baker

For the Whoopie Pies:
3 cups all-purpose flour
2 tablespoons cinnamon
1 teaspoon baking powder
1 teaspoon baking soda
1 teaspoon salt
1 teaspoon ground ginger
½ teaspoon ground nutmeg
1 cup granulated sugar
1 cup dark brown sugar
1 cup canola or vegetable oil
3 cups chilled pumpkin puree (canned pumpkin)
2 eggs
1 teaspoon vanilla extract

For the Maple-Cream Cheese Filling:
3 cups powdered sugar
8 ounces cream cheese, at room temperature
4 ounces (½ cup) unsalted butter, at room temperature
3 tablespoons maple syrup
1 teaspoon vanilla extract

1. Preheat oven to 350 degrees F. Line baking sheets with parchment paper or a silicone baking mat.
2. In a large bowl, whisk together the flour, cinnamon, baking powder, baking soda, salt, ginger and nutmeg. Set aside.
3. In a separate bowl, whisk the granulated sugar, the dark brown sugar, and the oil together. Add the pumpkin puree and whisk to combine thoroughly. Add the eggs and vanilla and whisk until combined.
4. Gradually add the flour mixture to the pumpkin mixture and whisk until completely combined.
5. Use a small cookie scoop or a large spoon to drop a rounded, heaping tablespoon of the dough onto the prepared baking sheets, about 1 inch apart.
6. Bake for 10 to 12 minutes, making sure that the cookies are just starting to crack on top and a toothpick inserted into the center of a cookie comes out clean. The cookies should be firm when touched. Remove from the oven and let the cookies cool completely on a cooling rack.
7. To make the filling, beat the butter on medium speed until smooth with no visible lumps, about 3 minutes. Add the cream cheese and beat until smooth and combined, about 2 minutes. Add the powdered sugar a little at a time, then add the maple syrup and vanilla and beat until smooth.
8. To assemble the whoopie pies: Turn half of the cooled cookies upside down. Pipe or spoon the filling (about a tablespoon) onto that half. Place another cookie, flat side down, on top of the filling. Press down slightly so that the filling spread to the edges of the cookie. Repeat until all the cookies are used. Put the whoopie pies in the refrigerator for about 30 minutes to firm before serving.

The recipe said it could make about 4 dozen, depending on how big you make them. I made 2 dozen with my recipe.

I think it's time to invest in new serving platters...

Cheesy Potatoes

Every holiday or gathering, I get asked to make cheesy potatoes. It all started last Thanksgiving when I randomly came across a recipe for them and decided they were quick and easy to make. I didn't even end up making them because I was too busy Thanksgiving morning, so I gave the job to Dan to make them. Dan and I have each made this dish a couple of times for various occasions and it gets rave reviews. It is super easy to make.

Cheesy Potatoes
from All Recipes

1 bag frozen country-style hash brown potatoes\
1 cup shredded cheddar cheese
2 cups sour cream
2 cans cream of potato soup
1/2 cup grated parmesan cheese
salt and pepper to taste

1. Preheat oven to 350.
2.  Combine all ingredients in a bowl. Pour into a greased baking dish. Cover and bake for 1.5 hours. Uncover and broil 2-3 minutes until top is browned.

That's it. Really, 2-step directions!


Simple Stuffing

Thanksgiving has come and gone. I'm not exactly sad to see it go. I think Thanksgiving is one of the busiest holidays, with not so much prep time on my part. This week found me with our end of season cheer banquet Monday night (where I made 50 cupcakes), the Kiss 108 Turkey Toss with my senior cheerleaders on Wednesday morning, which I got up at 4:00am for, then the afternoon to prep (after a nap of course), and then I was out for the night. Thanksgiving morning I was up for the high school football game, which left me with 20 minutes after I got home to get ready to head to dinner/lunch at my aunt and uncle's. Then after that, we headed off to Dan's parents for dessert. We got home about 8 and I was asleep by 9:30.

After the cheer banquet, we always have plenty of leftovers. I took home a lot of cupcakes, cake, cookies, brownies and bread. Desserts are easy to use up, but the bread was another story. We rarely go through a loaf of bread here, so I decided I would try and make a stuffing with it. I already had plans to make whoopie pies and possibly a banana bread (which I haven't made yet). I researched some stuffing recipes and decided on one that seemed quick and easy. This recipe could potentially be decently cheap as well, but I did my shopping at Trader Joe's, so a few of the ingredients were pricier than I would have liked. I think by Wednesday afternoon my kitchen was an absolute disaster, with dishes ready to tumble out of the sink from being piled so high. Thankfully, Dan knows that I am a messy cook and did all of the dishes! What would I do without him?

I deviated a little from the original recipe. I used ground turkey instead of sausage (only because TJ's didn't have ground sausage). I definitely recommend using only 1-2 cups of chicken stock when you make this. I used about 3.5 cups and my stuffing was too soft, almost soggy/mushy. It was still tasty, but not the texture I was hoping for, any I like my stuffing a bit softer.

Simple Stuffing
adapted from The Kitchn

1 lb loaf of bread (preferably artisan), cut into small cubes
1 lb. ground turkey (or sausage)
1 yellow onion, diced
3-4 celery stalks, diced
1 apple, diced (I placed my diced apple in a bowl with a little water and a squirt of lemon juice to keep them from browning)
2 tbsp. fresh sage, minced (or other herbs you prefer)
Salt to taste
3 large eggs
1-2 cups of chicken stock for drier stuffing, 3-4 cups for softer stuffing

1. Preheat oven to 350. Spread the bread cubes onto 2 cookie sheets and bake for 10 minutes. Stir and bake for 10 more minutes. Remove from oven and let cool. Turn oven to 400.
2. Brown the turkey in a skillet over medium heat until no longer pink. Set aside in a large mixing bowl, reserving a tablespoon or so of the drippings.
3. Return pan to heat and add the onions with a sprinkle of salt. Cook until onions begins to soften, about 5 minutes. Add the celery and cook another 3 minutes until celery begins to soften. Add in the apple and sage and cook just until apples begin to soften. Transfer vegetables and apple to the mixing bowl with the turkey and sprinkle with salt.
4. Add the bread cubes. Add the eggs to the mix and combine until everything is well coated.
5. Transfer to a 3-4 quart baking dish. Evenly cover the mix with chicken stock.
6. Cover with foil and bake for 30 minutes. Uncover and bake an additional 10-15 minutes until the top is lightly browned.


Saturday, November 3, 2012

Neopolitan Cupcakes

My Saturday has consisted of getting my broken glasses fixed (and by fixed, I mean the lady at the eye doctor super glued them), then attending a cheer competition with my JV team. Then a sushi dinner, a quick stop at my friend's for a bonfire, then baking cupcakes....at 10:30 at night.

I finished them just after midnight...or was it just after 11? Setting the clocks back throws me off. They always say "you get an extra hour to sleep", but not really since I just stay awake for an extra hour.

I also have to bake more tomorrow so my grandmother can bring them to a funeral. Which I will do after yet another cheer competition with both my JV and Varsity teams.

I know I'm not the first person to make Neopolitan cupcakes, there are a bunch of versions out there. However, I randomly thought up this week that I should make Neopolitan cupcakes and decided it would be chocolate cake, vanilla filling, and strawberry buttercream. I, of course, used my go-to chocolate cake recipe from Annie's Eats, and did my own strawberry buttercream recipe, and searched for a good vanilla cream filling. I decided on one that used mascarpone in it, and while I was making it I wasn't so sure how I felt about it. I had to really whip the mix to get it smooth, and in the end it somewhat separated making the filling sort of cottage-cheese like consistency. I also adapted it and added more powdered sugar and granulated sugar. It tastes good, though. This cake batter makes 24+ cupcakes. I made 24 regular sized ones and 24 mini cupcakes. I ate 2 mini cupcakes as my taste test. There isn't a lot of the mascarpone filling in them, so I'm not entirely sure how good it goes. I'll have to make Dan eat one and see what he thinks.

Neopolitan Cupcakes
adapted from various places, such as Annie's Eats and Cuisinart

For cake:
3/4 cup unsweetened Dutch-process cocoa powder
3/4 cup hot water
3 cups all-purpose flour
1 teaspoon baking soda
1 teaspoon baking powder
1 1/4 teaspoons coarse salt
1 1/2 cups (3 sticks) unsalted butter
2 1/4 cups sugar
4 large eggs, room temperature
1 tablespoon plus 1 teaspoon pure vanilla extract
1 cup sour cream, room temperature

For filling:
8 oz. mascarpone cheese, softened
2 tsp. milk
1-3 tbsp. powdered sugar
1/2 vanilla bean, scraped
1/2 tsp. vanilla extract
1-2 tbsp. granulated sugar

For frosting:
3 sticks of unsalted butter, room temp
1 lb and 1/2 cup powdered sugar
3/4 cup pureed strawberries
1/4 tsp. strawberry oil ( I use LorAnn flavor oils)

1. Preheat oven to 350. Line 2 cupcake tins with liners. (Or more if you want to make more than 24).
2. Melt the butter and sugar in a saucepan over medium-low heat. Stir to combine.
3. While that melts, whisk together the water and cocoa powder.
4. In a medium bowl, whisk together the flour, baking soda, baking powder and salt.
5. Remove butter/sugar mix from heat when melted and transfer to the bowl of an electric stand mixer. Beat on medium speed until cooled, about 4-5 minutes.
6. Add in the vanilla and eggs, one at a time.
7. Add the flour mixture in two batches, alternating with the sour cream, mixing until just combined.
8. Fill each cupcake liner half full (these rise quite a bit and I've learned that 2/3 full will rise and bake out over the edges of the cup.
9. Bake for 20 minutes or until a toothpick comes out clean. Cool completely on a wire rack.
10. To prepare the filling, beat together the mascarpone, vanilla bean, vanilla, powdered sugar and sugar (adding sugars one tablespoon at a time until desired consistency and sweetness is found). Chill in the fridge until ready to use (it may need a little mixing). Cut out a cone in the middle of each cupcake and fill with mixture.
11. To prepare the frosting,  beat the butter in the bowl of an electric stand mixer. Add powdered sugar, one cup at a time. Add in the strawberry puree 1/4 cup a time. Mix until desired flavor is achieved. I added in the strawberry oil at the end, after the puree wasn't quite strawberry enough for me, I wanted it to be super strawberry.

Cupcake chaos. Special cameo by the spaghetti squash.

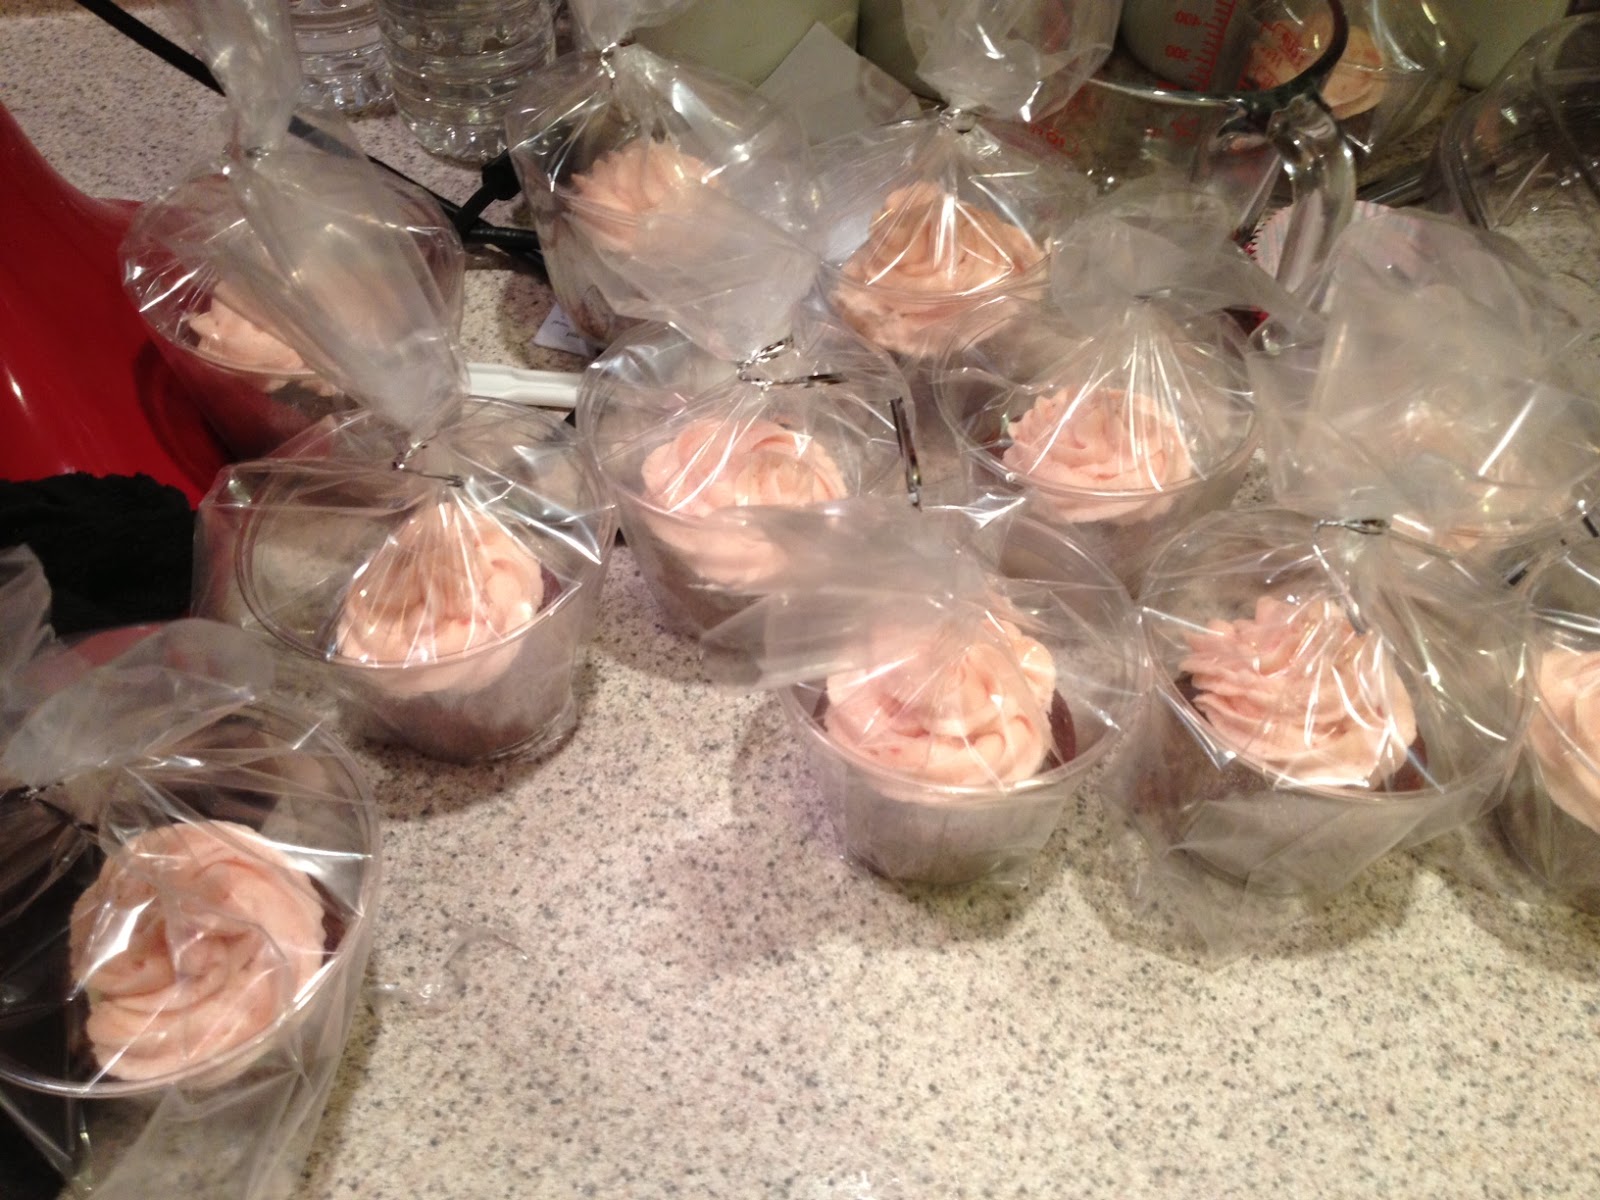
Wrapped and ready to go.

Mini!!